
Remember me
Ever since the death of Flash, I've not been much of an Adobe fan. There are open-source alternatives to almost all of their Creative Cloud apps that don't lock you into a subscription or require a secondary program to uninstall them. Because of its simple interface, Pinta is one of my favorite image editing apps. It's cleaner and simpler than GIMP, and it does everything I'd use Photoshop for without the associated cost.
 Related
 Credit: David J. Buck / How-To Geek
Pinta is a FOSS app that's regularly updated and maintained. Its creators were inspired by Paint.NET and GIMP, so they created something in-between. I started using it as a Photoshop replacement because I wasn't a big fan of GIMP in general.
It strikes the perfect balance for my projects. I can do Photoshop-esque things with it, but it can also serve as a basic painter or image editor. That makes a world of difference for my work.
So, this issue may or may not be unique to me, but I occasionally get frustrated with mobile apps sometimes because they have rows upon rows of icons but don't explicitly tell you what those icons actually mean.
Most image editing programs have self-explanatory icons already and Pinta is no different. But the way it elegantly lays them out and puts them in places that make sense is ideal for my image editing workflow.
 Credit: David J. Buck / How-To Geek
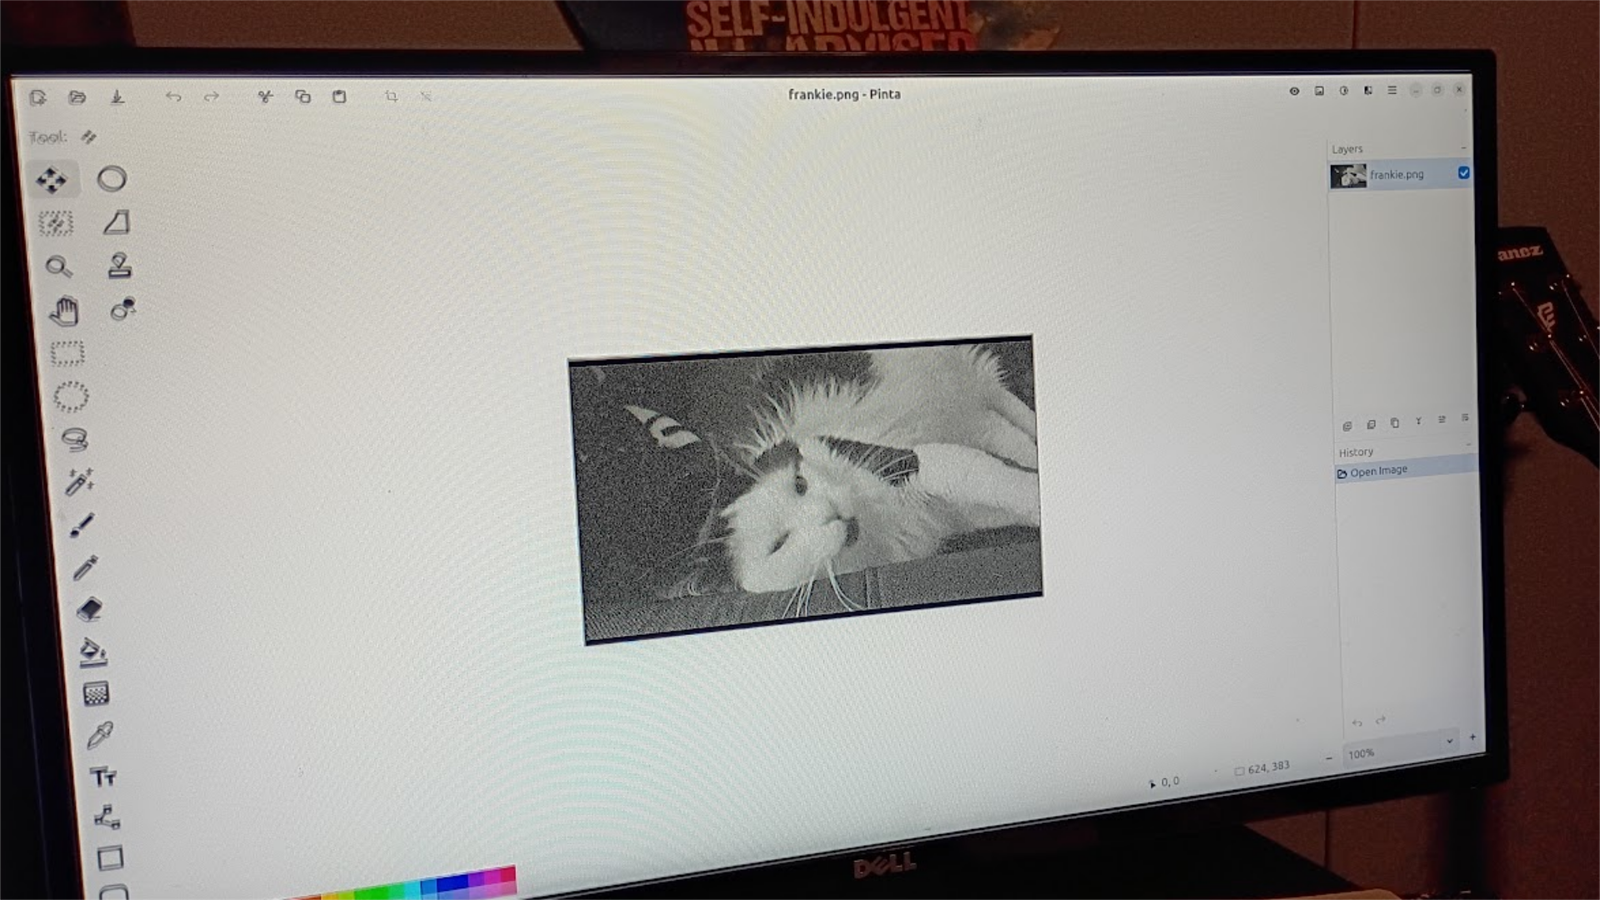
When first opening Pinta, you'll notice a row of icons on the side and along the top-right, with the canvas taking up most of the screen. The minimalist design makes it easy (in my experience) to edit my images. Hovering over an icon tells you what the tool does, so it's not confusing at all.
Pinta has a ton of shortcuts that make life so much easier for its users, too, which just makes me like it even more.
 Related
The main thing I use Photoshop for feels more intuitive in Pinta
Working with layers has never been easier
Related
The main thing I use Photoshop for feels more intuitive in Pinta
Working with layers has never been easier
 Credit: David J. Buck / How-To Geek
 Credit: David J. Buck / How-To Geek
 Credit: David J. Buck / How-To Geek
 Credit: David J. Buck / How-To Geek
 Credit: David J. Buck / How-To Geek
 Credit: David J. Buck / How-To GeekClose
 Credit: David J. Buck / How-To Geek
 Credit: David J. Buck / How-To Geek
 Credit: David J. Buck / How-To Geek
 Credit: David J. Buck / How-To Geek
 Credit: David J. Buck / How-To Geek
 Credit: David J. Buck / How-To Geek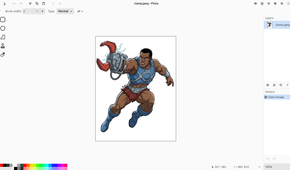
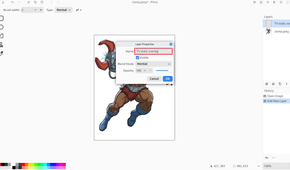
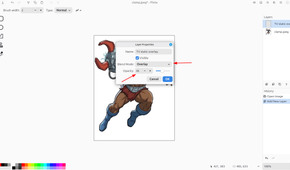
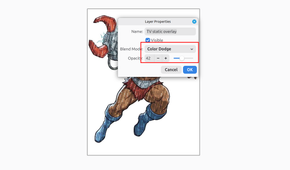
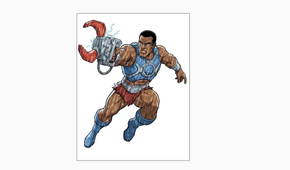

Just to demonstrate how much Pinta improves my workflow, I made a quick image for an article on my personal website. I grabbed a picture of a Masters of the Universe character and a TV static stock photo from Unsplash.
There's a simple way to import an image for your layers by going to Menu > Layer > Import from File. I added my TV static using this command. From there, I resized it, added a Color Dodge and decreased the transparency.
From there, I wanted to turn the image black and white, so I navigated to Adjustments > Black and White. You can also use CTRL + SHIFT + G because it's much easier, for me, to use keyboard shortcuts in most programs.
Use shortcuts to improve your workflow in Pinta. F4 for example, brings up layer properties, while CTRL + SHIFT + X crops to your selection. And if you hit O you can draw lines and arrows on the canvas.
The Clone stamp is easy to use, too Send in the clones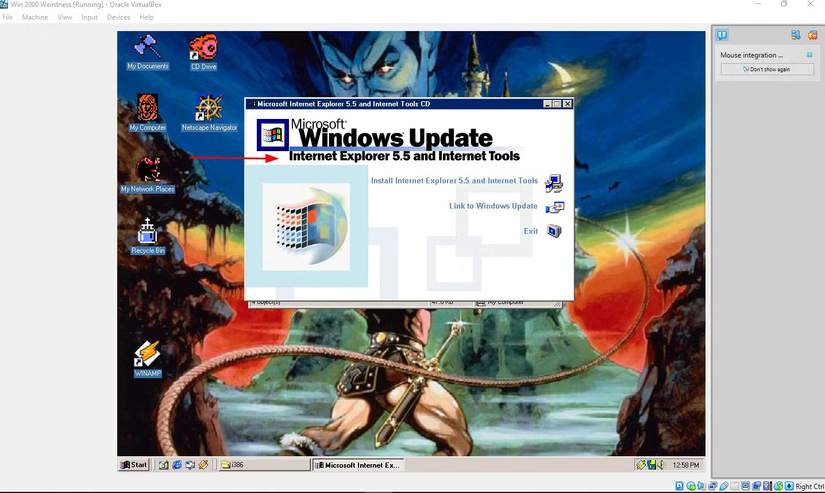 Credit: David J. Buck/How-To Geek
This might sound strange, but I've always kind of had issues using clone stamps in other programs. They never quite do what I want them to. But Pinta's tool works well. Look no further than the Castlevania desktop image above.
The original image had a rather unsightly icon on the desktop. So I used Pinta to cut it and clone the surrounding image. It looks seamless and like it's supposed to be that way.
The cloning tool is really meant to remove objects from photos, and it did its job well there. I use it more than I've ever used similar tools in other image editors.
It makes image adjustments and resizing simple No dragging or estimation needed Credit: David J. Buck / How-To Geek
I work with a lot of images, whether they're screenshots, edited photos, or artwork. Pinta plays a key role in how I prepare them for web publication. With a simple shortcut, CTRL + R , I can quickly resize my image and choose between dimensions or percentages.
I also find the selection and move tools for quick cropping and selections.
Previously, I used online image editors like Photopea or Canva. On Desktop, it was Photoshop or GIMP (and sometimes MSPaint for particular aesthetic choices). But when I upgraded to Linux and started using Pinta, I stopped using most of those image editing programs for this task.
That might be a dealbreaker for some, but it's fine for me Credit: Justin Duino / How-To Geek
I can't stand Generative AI as it pertains to images, music, or writing. I think they're fine as advanced search engines or research partners, electronic editors, or a place to organize your thoughts. But for creative work? Nah. I won't get into the finer details of why, as I've talked about it a number of times in the past.
At best, I find so-called AI "features" annoying. At worst, the apps pester me about using them when I simply don't want to. I think the only one I've ever found useful was background removal.
I largely ditched Canva due to the aggressive pushing of paid plans and AI features, so it's a pretty big deal for me and I sincerely hope Pinta doesn't add them in the future.
 Related
4 custom keyboard shortcuts that drastically improved my Linux workflow
Related
4 custom keyboard shortcuts that drastically improved my Linux workflow
Keyboard shortcuts make Linux easier, more convenient, and more fun. These four make my workflow smoother than ever.
Pinta is improving all the time
Pinta is always evolving with new features all the time. If you want, you can even check out its code on GitHub. I think it's one of the best image editing programs I've ever used and, for the kind of work I do, beats Photoshop by a mile.