
Remember me



Your 3D printer can take microcontroller projects to the next level with 3D printer enclosures and other parts. So what about using an ESP32 board to improve the 3D printer?
Here are some ways you can use an ESP32 to improve your 3D printing experience.
Wireless print progress monitor Your current print status at a glance Credit: ChrisG / MakerWorld
Print monitors are small dedicated devices that can show you the status of your printer or current job at a glance. There are many of these projects out there, with the ESP32 being a popular choice for its affordable price point, low power consumption, and the fact that the chip often comes embedded in a display.
The PrintSphere is one of these, built around a Waveshare AMOLED 1.75-inch touch display with an ESP32-S3 built in. It’s designed to be portable with a magnetic charging ring and a built-in battery, and it displays things like print progress, errors, AMS details, camera snapshots, and more.
The BambuHelper is another that supports a range of displays and uses the same ESP32-S3 chip. Both of these work with Bambu Cloud natively, so you don’t need to switch to LAN mode for offline printing (though they also support this as an option).
WLED light strip progress bar Colorful and informative Credit: brunohvp / MakerWorld
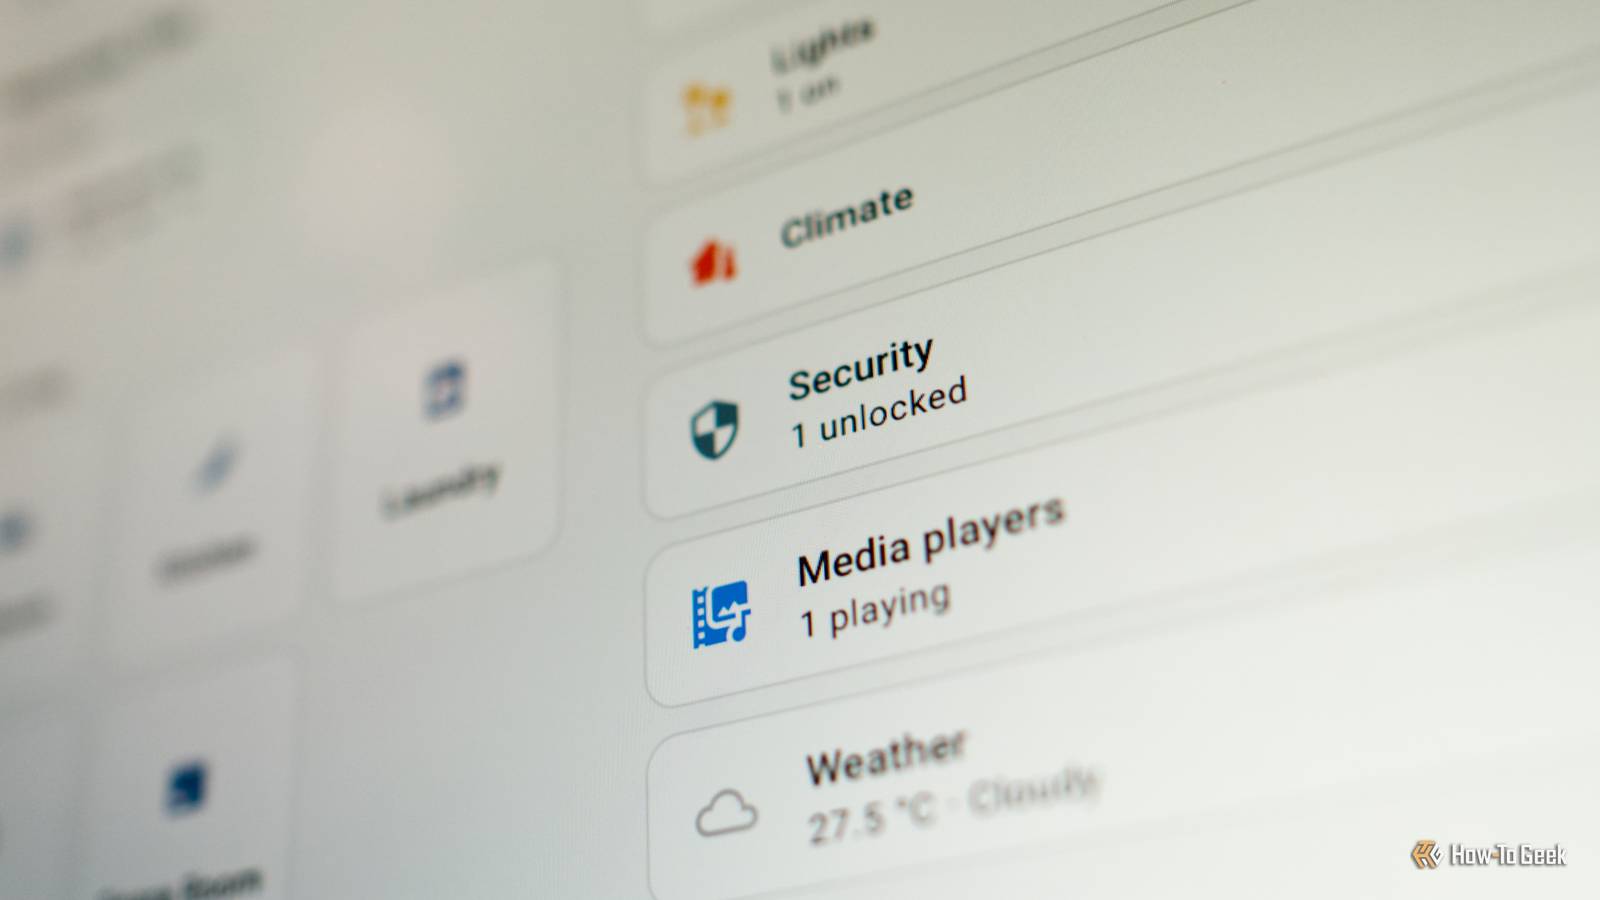
If a dedicated print progress terminal seems like overkill, why not add a LED progress and status bar instead? This project runs on WLED, firmware that allows you to control common LED strips with an ESP32. You’ll need to first integrate your printer with Home Assistant, which then feeds the status of your print to an ESP32 running WLED. This then displays your printer’s status as a loading bar on the front of your print bed.
The full project requires that you pull 24V from the printer, step it down to 5V, and power the LED with it. When you’re finished, you will get a variety of color effects like blue animated (idle), green pulsing (finished), red pulsing (error), orange loading (heating), and light blue and purple animated (calibrating).
Additional cameras for print monitoring Get the angle just right Credit: Seeed Studio
The ESP32-CAM is a development board that combines a microcontroller with a camera module. Alternatively, you can add a camera module using the I2C connectors on standalone boards. Once complete, you can power the board with a simple 5V power supply and point it wherever you like to get a cheap and cheerful webcam.
There are different ways of achieving this. Random Nerd Tutorials has a tutorial for using the Arduino IDE, whereas ESPHome has a ton of documentation for camera modules. Both of these should work with Home Assistant, which you can then use to monitor your camera or plug it into some sort of AI analysis tool for greater insight.
For example, if you have a cat that loves to play with your printing filament, then you can set up a camera that can see the whole printer. Maybe you love the top-down printing view, and want to place the ESP32 camera looking down through the glass lid of your printer. Alternatively, you can mount an extra camera inside of the enclosure.
ESP32-controlled filament dryer Make it yourself from off-the-shelf parts Credit: Tim Brookes / How-To Geek
 Credit: Tim Brookes / How-To Geek
 Credit:
 Tim Brookes / How-To Geek
 Credit: Patrick Campanale / How-To Geek
 Credit: Patrick Campanale / How-To GeekClose
 Credit: Tim Brookes / How-To Geek
 Credit: Tim Brookes / How-To Geek
 Credit:
 Tim Brookes / How-To Geek
 Credit: Patrick Campanale / How-To Geek
 Credit: Patrick Campanale / How-To Geek
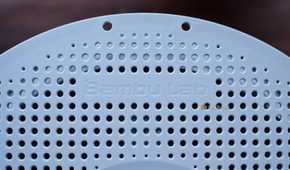
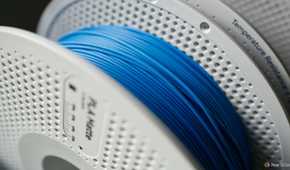
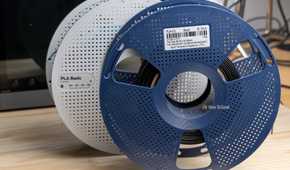

Filament dryers are useful devices that keep moisture levels in check, but they can be expensive. I have an AMS 2 Pro for my Bambu Lab P2S, and as much as I’d love a second, I’d find the price pretty hard to stomach. That’s especially true when projects like the ESP32 Filament Dryer exist.
The build is based on a custom PCB design that’ll set you back about $45. After that, you’ll need some common components like sensors, heating elements, and fans.
ESP32 dry box or AMS monitor Cheap and cheerful monitoring of stored filament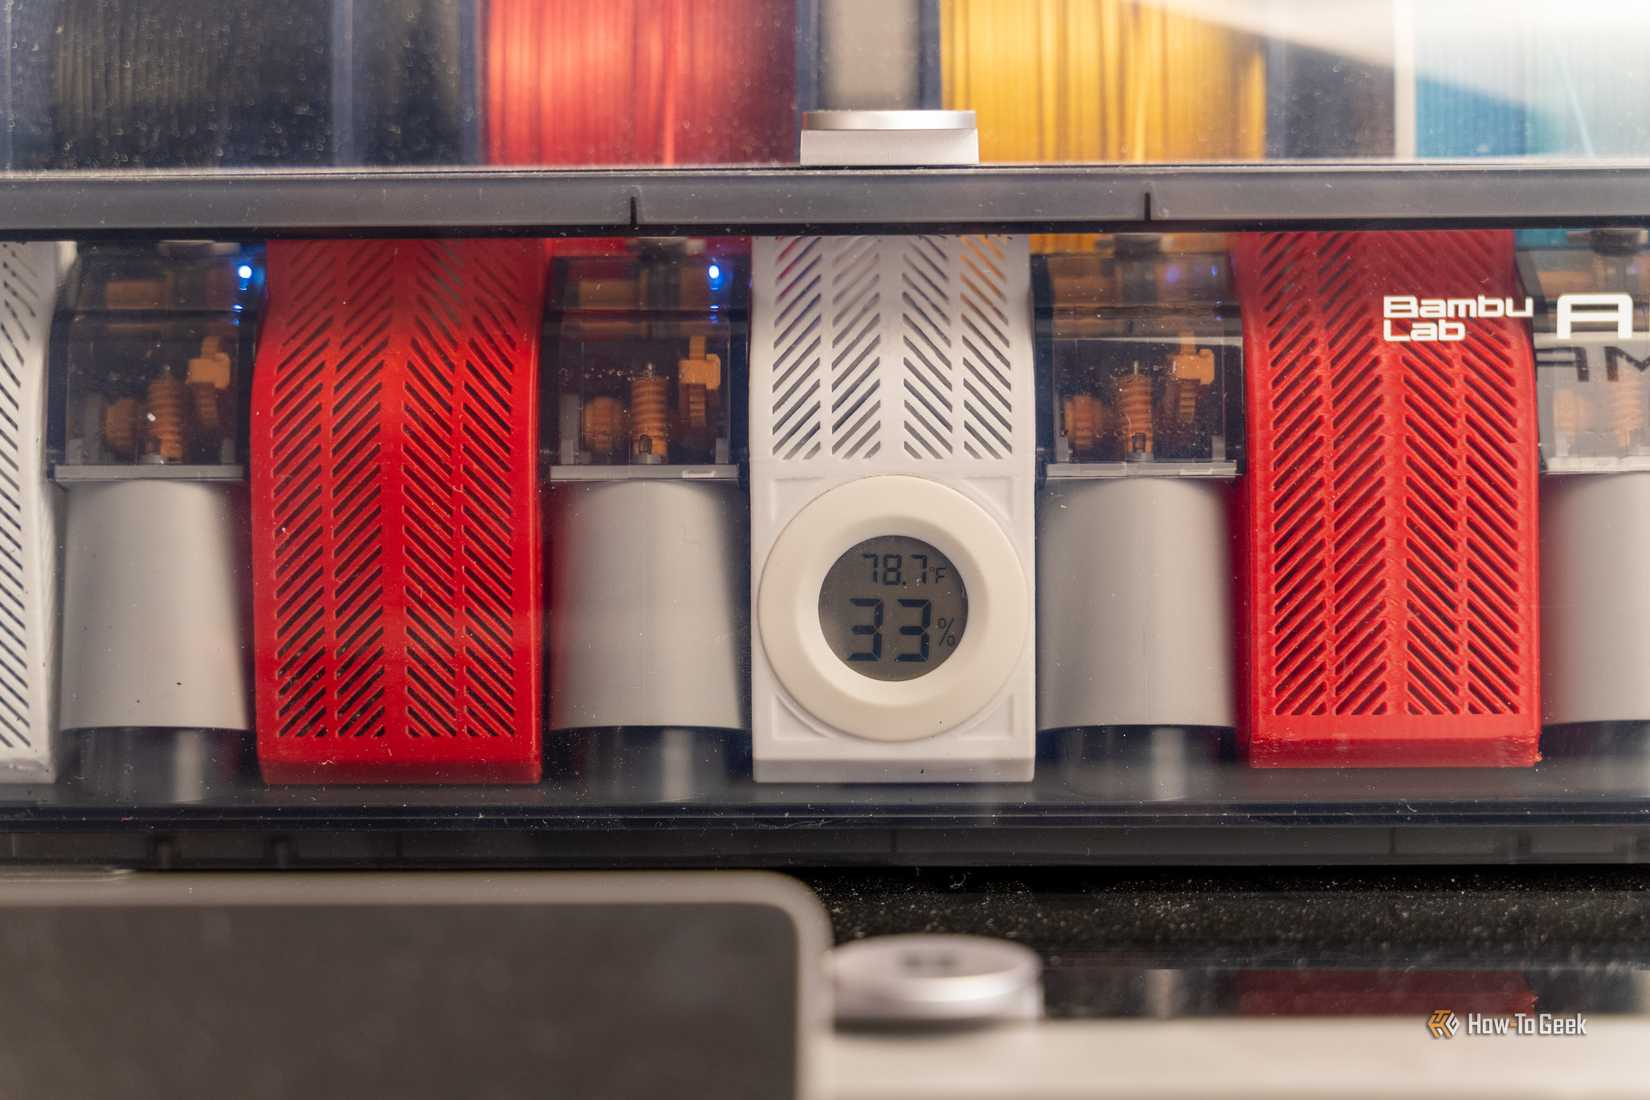 Credit: Patrick Campanale / How-To Geek
The ESP32 can replace a whole heap of smart home sensors, with one of the simplest projects being a simple temperature and humidity sensor. That’s really all this is—a hygrometer that you stick in the same box as your filament, which reports its humidity findings in a manner you can monitor.
ESPHome is perfect for this, since it integrates with Home Assistant. You can then get your smart home to notify you when the box hits a certain level, or just pin it to a dashboard for ease of use.
DIY air quality monitor Get alerts or control ventilation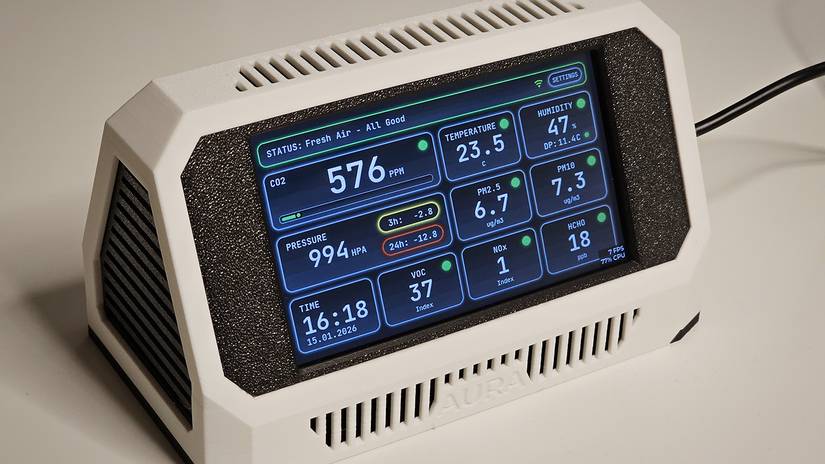 Credit: Project Aura / 21CNCStudio
One of my favorite ESP32 3D printing projects is Project Aura, an air quality monitor that comes in at around $170 but punches way above its weight in terms of what it can detect in the air. This includes particulate matter, volatile organic compounds, formaldehyde, plus the usual atmospheric readings for temperature and humidity.
You can use a project like this to monitor the air wherever your 3D printer is located, and plug it into a smart home system like Home Assistant to automatically trigger fans and ventilation.
SpoolEase filament scale Filament tracking for any brand Credit: SpoolEase
SpoolEase is an NFC/RFID-powered tracking tool that allows you to track, inventory, and estimate how much filament you have left. In addition to hosting the software, you can also build a SpoolEase Scale which uses an ESP32-S3, HV711 load cells, 3D printed chassis, and an optional tag reader.
Accurately track how much filament you have in stock, so that you never order too much or run out!
Looking for more projects? Here are some great ESP32 projects that involve your 3D printer.