Here's How To Use Nail Stickers So They Look Like Pure Artistry
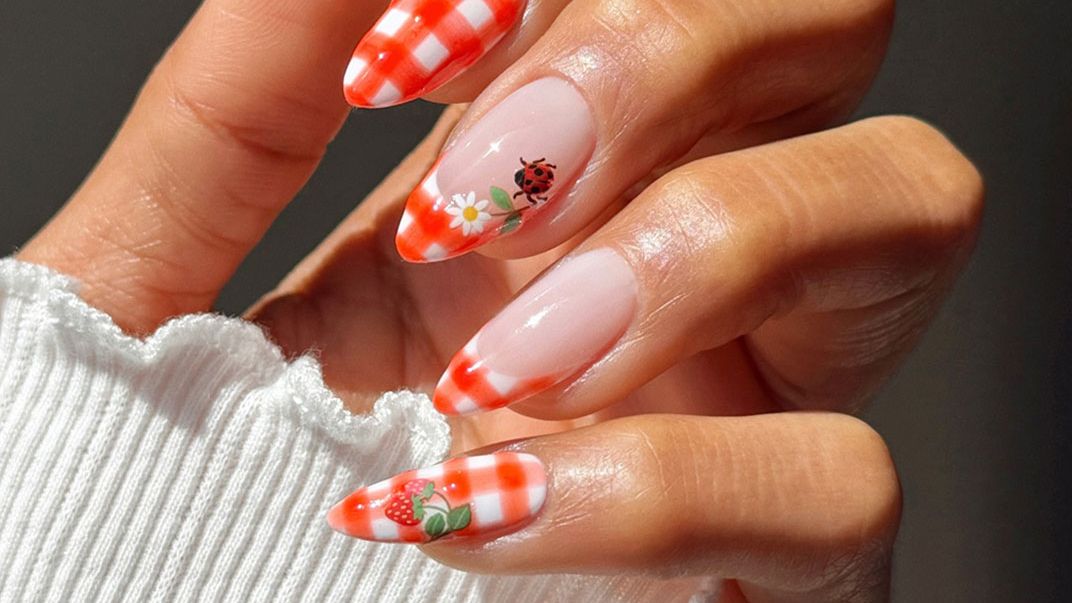
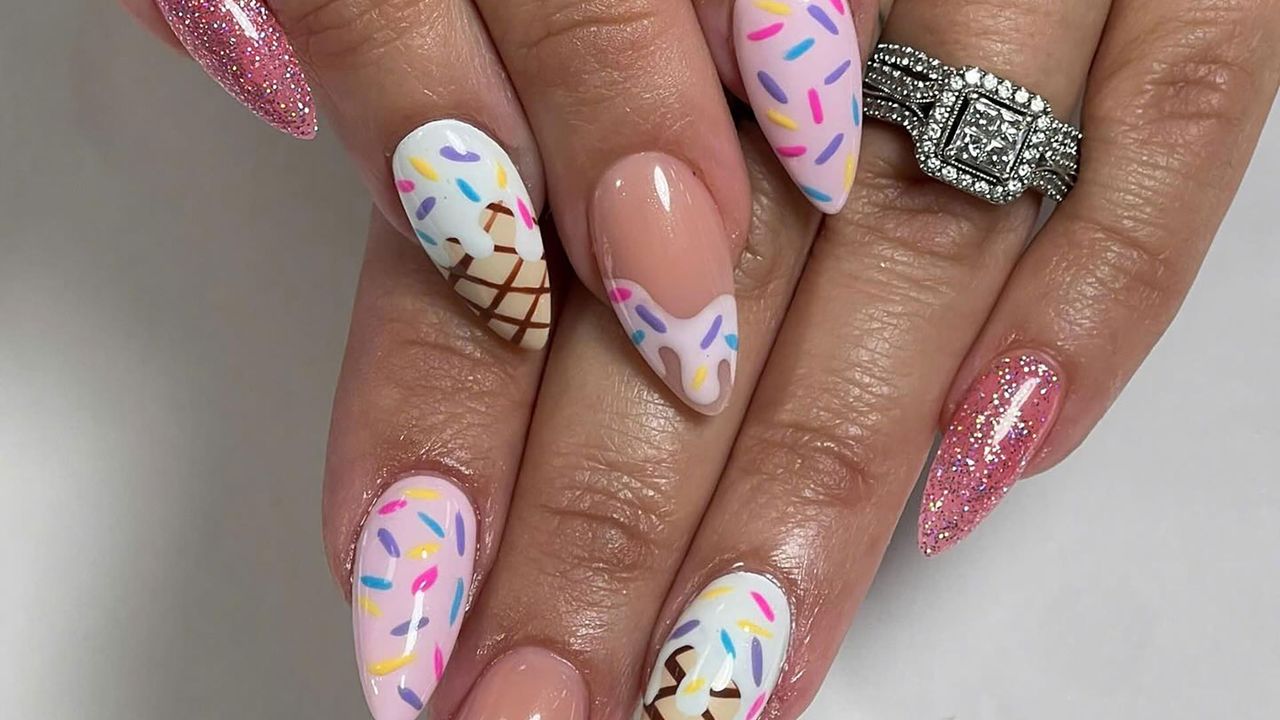
Nail art has (deservedly) cemented its spot in the zeitgeist thanks to giving us artistry and personality at our fingertips, but if you don't know how to use nail stickers, it's high time to jump on board. Yes, we can feel the beauty evangelists shudder from here, since nail decals are still busy fighting off their twee Y2K reputation. They need revisiting, though, because the designs available in ripe old 2026, are looking a lot more elevated. And they come with a couple of very persuasive perks that take them over the line.Where nail art can be an investment in time (a complicated full set can easily take hours to complete) and therefore money, nail stickers can upgrade a mani in seconds and don’t require anything more than the most basic artistic ability. They open up your options, since you can do them at home (although, before you do, read-up on the tips below), but equally, if you're still after a pro finish, many salons are now offering them to clients for a speedier service.Stuck on which design to choose? Nail stickers have quietly undergone a glow-up to put them on track with the covetable designs coming from some of our favourite nail artists. We’ve seen delicate gems and pearls, cute bows, flirty cherries, gold accents and spin-off trends – like Farmer’s Market fruits and garden insect nails (which mean lady bugs and other critters have officially been signed-off by the style crowd).To ensure those little details sit right where you want them, use some pointy tweezers to place your nail sticker down. You can also use the tweezers to smooth the sides, but for extra adhesion, a silicone tool (like these on Amazon) will create a seamless finish. Finally, ensure you follow up with a couple of layers of top coat to lock them into place and protect them from marks.